
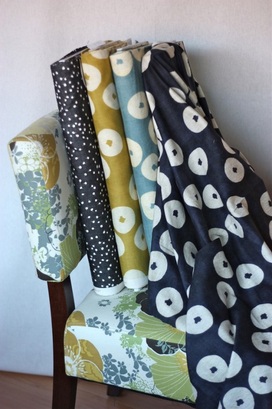
I always wanted to sew 'something peplum' as I think it could emphasise my straight figure. When I saw the tutorial at Merricks Art's blog I couldn't wait to start. She made it from a thrifted oversized blouse, out of a beautiful blue fabric. Of course, I wasn't able to find such an item, so instead I bought this great navy cotton. It is really soft and has a slight stretch to it. AND it was only €1 a metre at the market.
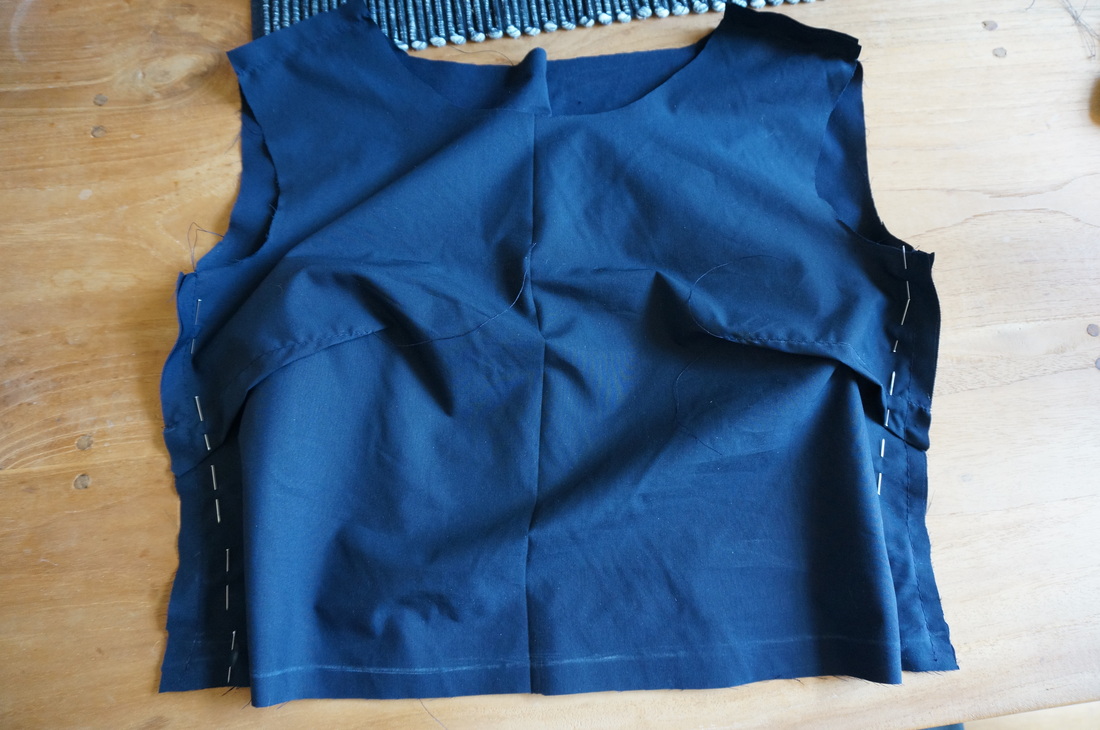
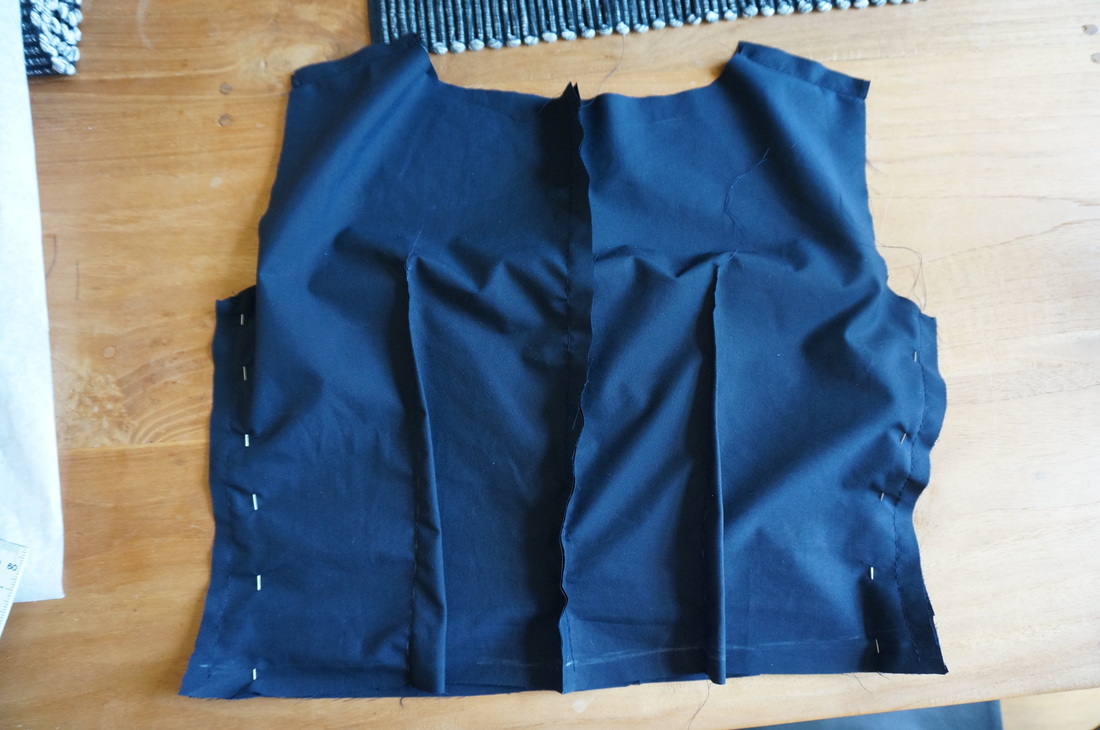
I used the top of the Laurel dress (again:)) as a base, but cut it at the waist and changed the darts on the back so they went straight down instead of in a diamond shape. Also I made the sides a little tighter, but with enough ease.
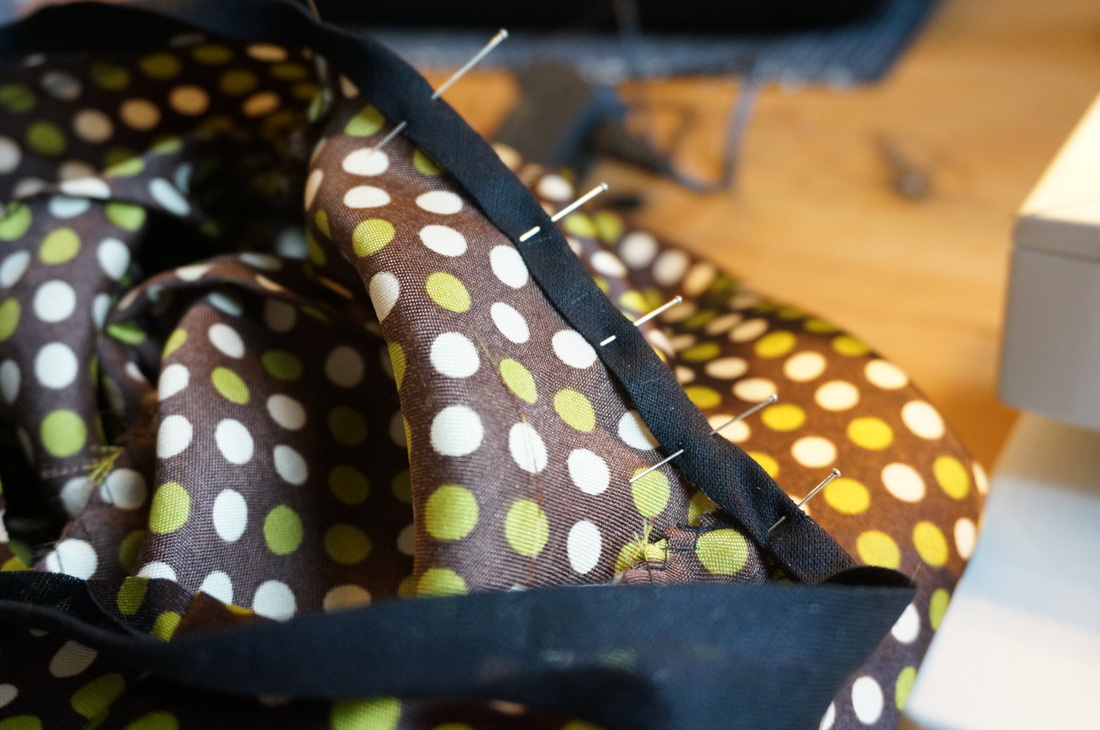
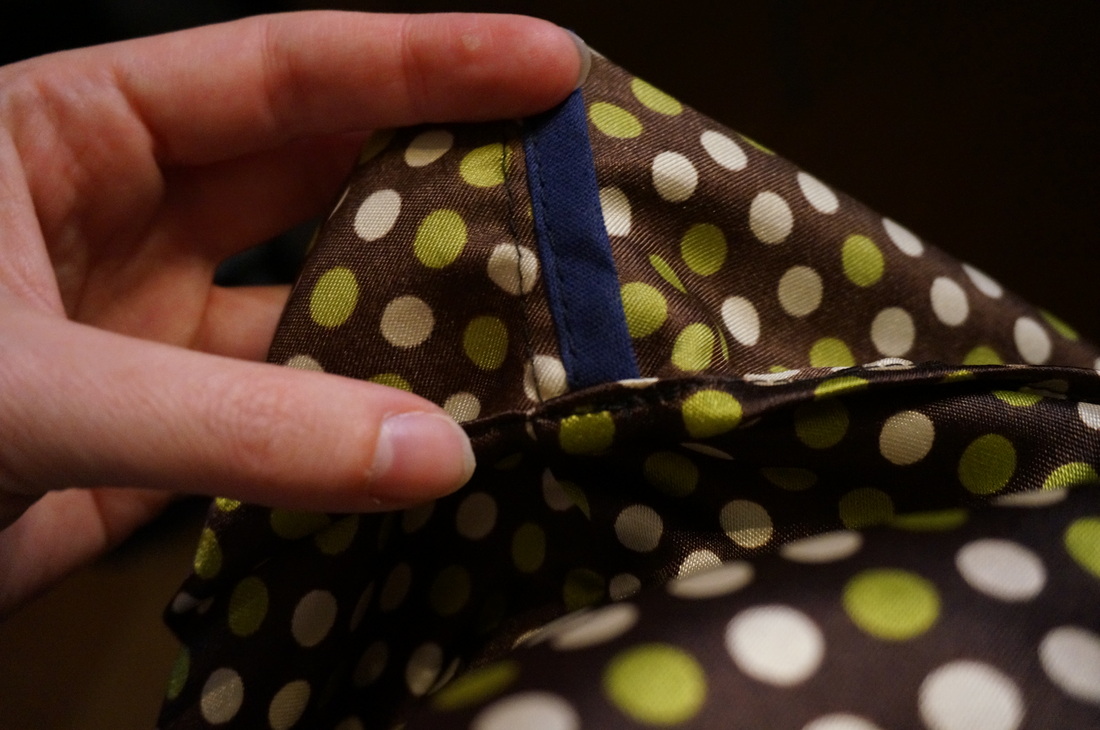
I took photos of this step:
I used the top of the Laurel dress (again:)) as a base, but cut it at the waist and changed the darts on the back so they went straight down instead of in a diamond shape. Also I made the sides a little tighter, but with enough ease.
I took photos of this step:
I don't have photos of the next steps, so I will try to explain them.
After this step I put in a blind zipper and put in the sleeves. I made the armholes about 1 cm bigger on each side and that way putting in the sleeves got way easier. There are still some puckers but the sleeves look al lot less puffy! The sleeve ends I finished with self made bias binding.
I also (so sorry I forgot to take photos of this!) made facings for the neckline instead of bias tape, to make it look flat.
For the bottom part, I cut a rectangular piece of fabric of 1,5 times the width of the top and about 20 cm tall (about 8 inches). I folded this part in half and stitched the short ends, so I got a circular piece of 20 cm tall. Then I measured elastic band at the exact width of the top, and stitched it to the bottom part, so that it was evenly ruffled. I then pinned this part (good sides together) to the top and stitched, being careful not to stitch through the elastic band. After I removed the elastic band (see also Merricks Art tutorial, she explains it well, and has added the photos that are lacking here...sorry). You could achieve the same result by sewing a long stitch along the border and ruffling it and distribute the ruffles evenly.
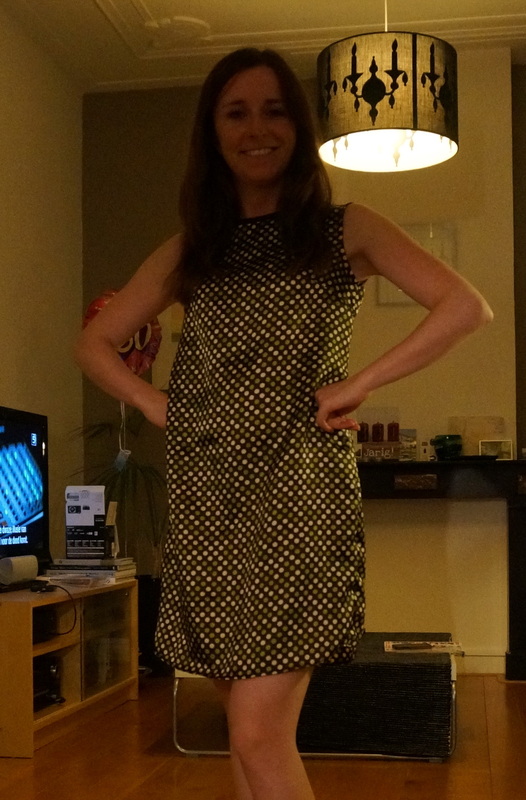
I hemmed it with a simple turned in hem and... Voila!
After this step I put in a blind zipper and put in the sleeves. I made the armholes about 1 cm bigger on each side and that way putting in the sleeves got way easier. There are still some puckers but the sleeves look al lot less puffy! The sleeve ends I finished with self made bias binding.
I also (so sorry I forgot to take photos of this!) made facings for the neckline instead of bias tape, to make it look flat.
For the bottom part, I cut a rectangular piece of fabric of 1,5 times the width of the top and about 20 cm tall (about 8 inches). I folded this part in half and stitched the short ends, so I got a circular piece of 20 cm tall. Then I measured elastic band at the exact width of the top, and stitched it to the bottom part, so that it was evenly ruffled. I then pinned this part (good sides together) to the top and stitched, being careful not to stitch through the elastic band. After I removed the elastic band (see also Merricks Art tutorial, she explains it well, and has added the photos that are lacking here...sorry). You could achieve the same result by sewing a long stitch along the border and ruffling it and distribute the ruffles evenly.
I hemmed it with a simple turned in hem and... Voila!
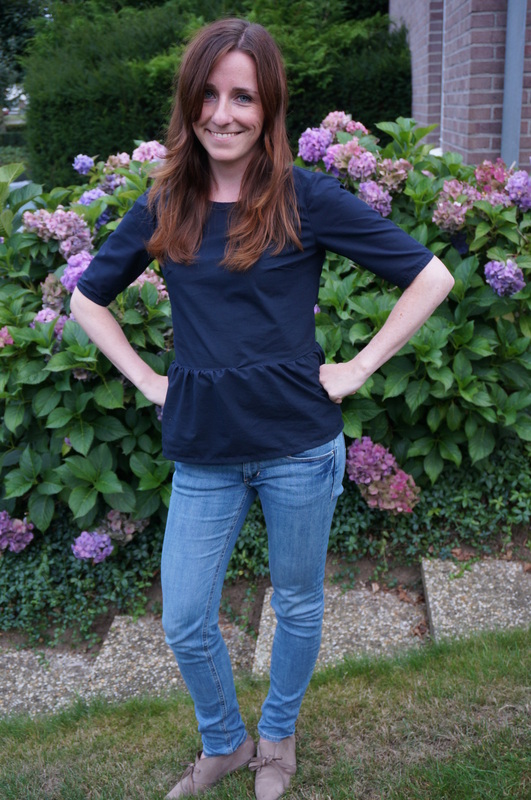
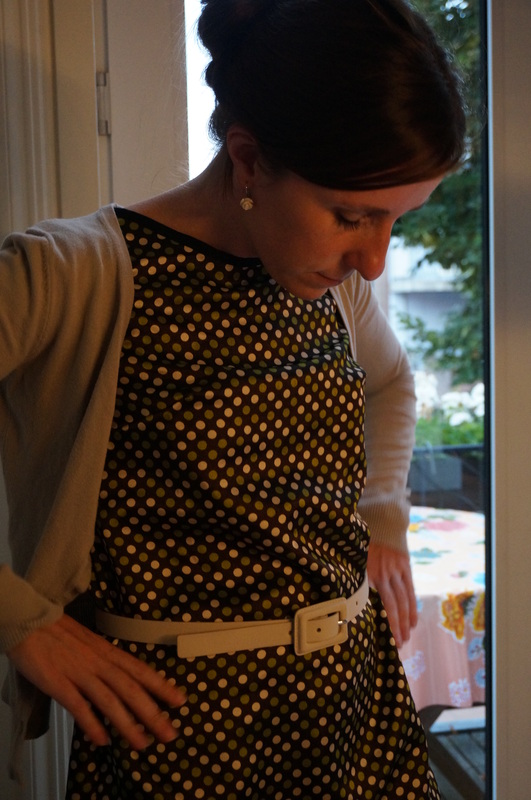
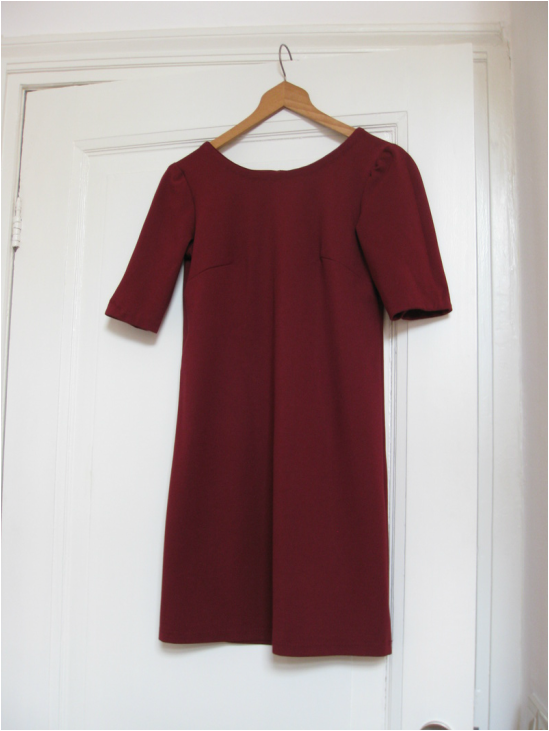
I love how it looks on a pair of skinny jeans
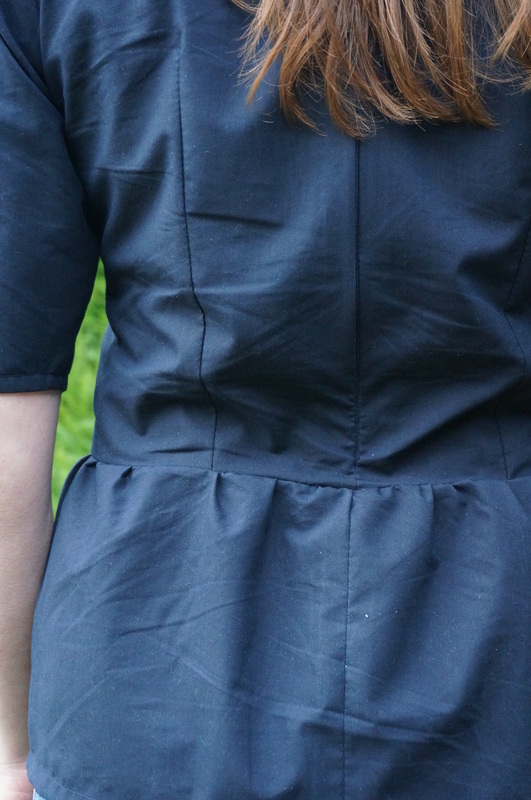
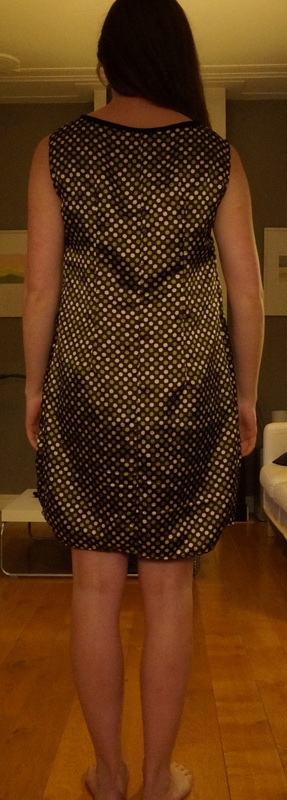
The back is a bit creased because I sat in the car for an hour..
I am very happy with the result, and I already wore it to my mother in law (it's her garden in the photos) and work! Most people (including my mother in law) didn't believe I made it myself so that made my day :)
All photos were taken by my beloved husband with my beloved Sony NEX 6!
All photos were taken by my beloved husband with my beloved Sony NEX 6!


 RSS Feed